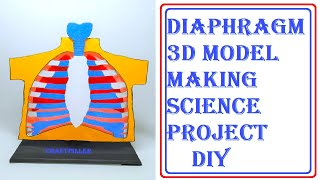
In this post we write about making of the diaphragm model(3d) science project
Creating a 3D diaphragm model using cardboard and color paper can be an informative and engaging project.

The diaphragm is a crucial muscle that separates the thoracic and abdominal cavities and plays a significant role in breathing.
Let’s build a simple but effective diaphragm model.
Materials needed:
- Cardboard (for the base and diaphragm structure)
- Color paper (for representing different elements)
- Scissors
- Glue or double-sided tape
- Marker pens or sketch pens
Step-by-step instructions:
- Base:
- Cut a rectangular or square piece of cardboard to serve as the base for the model.
- Diaphragm Structure:
- Use cardboard to create the diaphragm structure.
- Cut out a dome-shaped piece of cardboard that represents the diaphragm.
- Attach the diaphragm structure to the center of the base.
- Diaphragm Attachment:
- Use color paper to represent the attachment of the diaphragm to the ribcage and spine.
- Cut out thin strips of color paper and glue them to the diaphragm structure, extending towards the edges of the base. These strips will represent the diaphragm’s attachment.
- Thoracic and Abdominal Cavities:
- Use color paper to represent the thoracic and abdominal cavities.
- Cut out two large rectangular pieces of color paper and label them as “Thoracic Cavity” and “Abdominal Cavity.”
- Attach these pieces to the upper and lower parts of the base, respectively, surrounding the diaphragm structure.
- Labeling and Details:
- Use marker pens or sketch pens to label each element of the model, such as “Diaphragm,” “Thoracic Cavity,” and “Abdominal Cavity.”
- Add brief descriptions or captions to explain the role and function of the diaphragm in breathing.
- Decorating the Model:
- Use markers or color paper to decorate the model and add more details to make it visually appealing.
- You can add some anatomical details like ribs and vertebral column if you wish.
Now, you have a 3D diaphragm model made from cardboard and color paper. This model can be a helpful visual aid to understand the diaphragm’s structure and its role in separating the thoracic and abdominal cavities during breathing.
#diaphragmmodel #sciencemodel #craftpiller #scienceexhibition #scienceproject #biologymodel #zoologymodel