
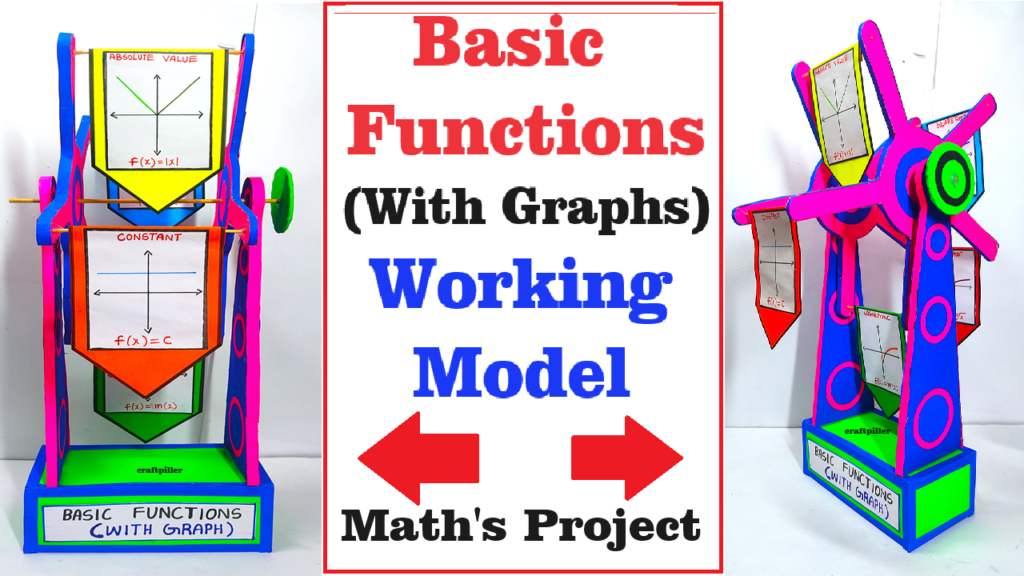
Creating a rotating model that visually represents different types of basic mathematical functions can be a great hands-on teaching and learning material (TLM).
Here’s a step-by-step guide to help you build a graphing model inspired by a merry-go-round concept:
Materials Needed:
- Cardboard – For creating the base, graph, and function representations.
- Slow-running motor – To rotate the model.
- Battery pack and wires – To power the motor.
- LED lights (optional) – To highlight specific parts of the model.
- Hot glue gun or strong adhesive – For assembly.
- Markers and paints – For labeling and decorating.
- Scissors or craft knife – For cutting cardboard.
- Ruler and compass – For accurate measurements.
- Stand – To hold the motor and the rotating platform.
- Plastic or foam balls – To represent points on the graph.
- Small dowels or sticks – To represent the function curves.
Step-by-Step Instructions:
Step 1: Create the Base Structure
- Cut the Base:
- Cut a large circular piece of cardboard to serve as the rotating platform (merry-go-round base).
- Divide the circle into equal sections, with each section representing a different basic function (linear, quadratic, cubic, sine, etc.).
- Mount the Motor:
- Securely attach the motor to the center of the base. Ensure it can rotate the platform smoothly.
Step 2: Prepare the Graphs
- Draw Axes:
- Draw X and Y axes on each section of the circular platform using a ruler and markers. Ensure they intersect at the center of the platform.
- Label the Axes:
- Label the X and Y axes appropriately for each function type. For example, X could range from -10 to 10 and Y could range from -10 to 10.
Step 3: Represent the Functions
- Create Function Curves:
- For each section, draw the graph of a basic function:
- Linear: y=mx+by = mx + by=mx+b
- Quadratic: y=ax2+bx+cy = ax^2 + bx + cy=ax2+bx+c
- Cubic: y=ax3+bx2+cx+dy = ax^3 + bx^2 + cx + dy=ax3+bx2+cx+d
- Sine: y=asin(bx+c)+dy = a \sin(bx + c) + dy=asin(bx+c)+d
- Use markers to draw these graphs on the respective sections.
- For each section, draw the graph of a basic function:
- Add 3D Elements (optional):
- Attach small dowels or sticks along the function curves and place small plastic or foam balls at intervals to represent points on the graph.
Step 4: Assemble the Rotating Model
- Attach the Platform:
- Attach the circular platform to the motor shaft securely using a hot glue gun or strong adhesive.
- Install LED Lights (optional):
- If using LED lights, attach them around the edge of the platform or along the function curves to highlight specific parts when the model is rotating.
- Create the Stand:
- Build or use a stand to hold the motor and the rotating platform. Ensure the stand is stable and the platform can rotate freely.
Step 5: Wiring the Motor
- Connect the Motor:
- Connect the wires from the motor to the battery pack, incorporating a switch to easily turn the motor on and off.
- Secure all connections and insulate any exposed wires.
Step 6: Testing and Final Adjustments
- Test the Rotation:
- Turn on the motor and observe the rotation of the platform. Ensure the movement is smooth and stable.
- Make any necessary adjustments to the alignment of the graphs or the stability of the stand.
Summary:
This rotating model will demonstrate different basic mathematical functions in a visually engaging way. As the platform rotates, students can observe and compare the various function graphs, enhancing their understanding of mathematical concepts. The merry-go-round concept adds an interactive and dynamic element to the learning experience.