
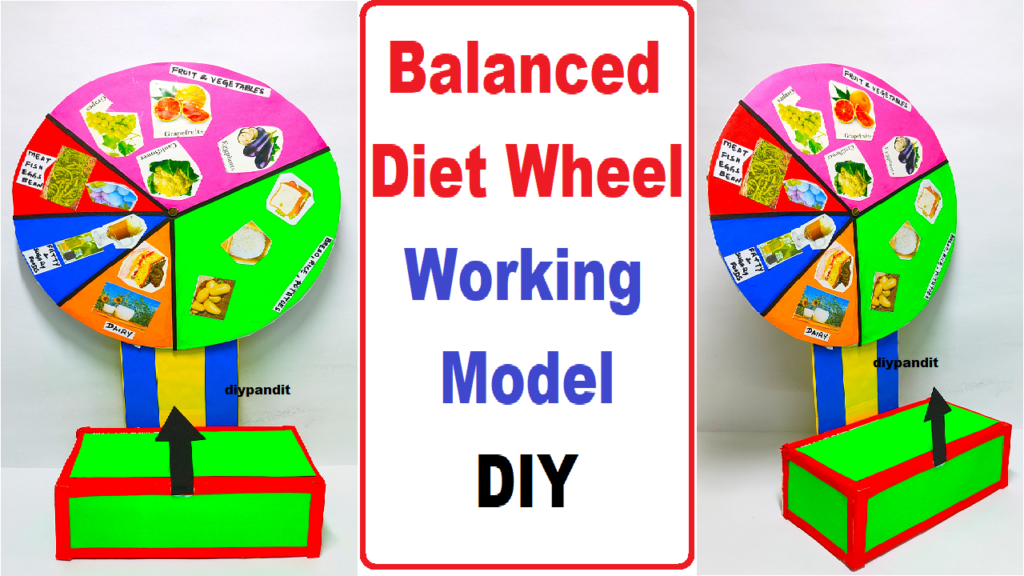
A simple guide on how to create a balanced diet wheel in a circular shape with sections for Fruits, Vegetables, Grains, Protein, Dairy, and Fats/Oils:
Materials:
- Large sheet of paper or cardboard
- Compass or round object for drawing circles
- Ruler
- Pencil
- Colored markers or paints
- Scissors
- Split pin (brad)
Step by Step video instruction on Balanced Diet Wheel Working Model
- Draw the Base Circle:
- Use a compass or a round object to draw a large circle on the paper or cardboard.
- Divide the Circle into Sections:
- Divide the circle into six equal sections, like slices of a pie, each representing a food group. You can use a ruler to create straight lines or eyeball it for a more artistic look.
- Label the Sections:
- Write the names of each food group in their respective sections. Label them as Fruits, Vegetables, Grains, Protein, Dairy, and Fats/Oils.
- Draw or Attach Icons:
- In each section, draw or attach simple icons representing the food group. For example:
- Fruits: Draw a fruit like an apple or a bunch of grapes.
- Vegetables: Draw a vegetable, such as a carrot or broccoli.
- Grains: Draw a symbol for grains like wheat or rice.
- Protein: Draw an icon representing a protein source, like a piece of chicken or a fish.
- Dairy: Draw a milk carton or cheese wedge.
- Fats/Oils: Draw an icon representing healthy fats, like an avocado or olive oil.
- In each section, draw or attach simple icons representing the food group. For example:
- Color the Wheel:
- Use colored markers or paints to fill in each section with vibrant and contrasting colors.
- Create an Arrow or Indicator:
- Cut out an arrow shape from colored paper or cardboard. Attach the arrow to the center of the circle using a split pin (brad). This arrow will point to the different food groups.