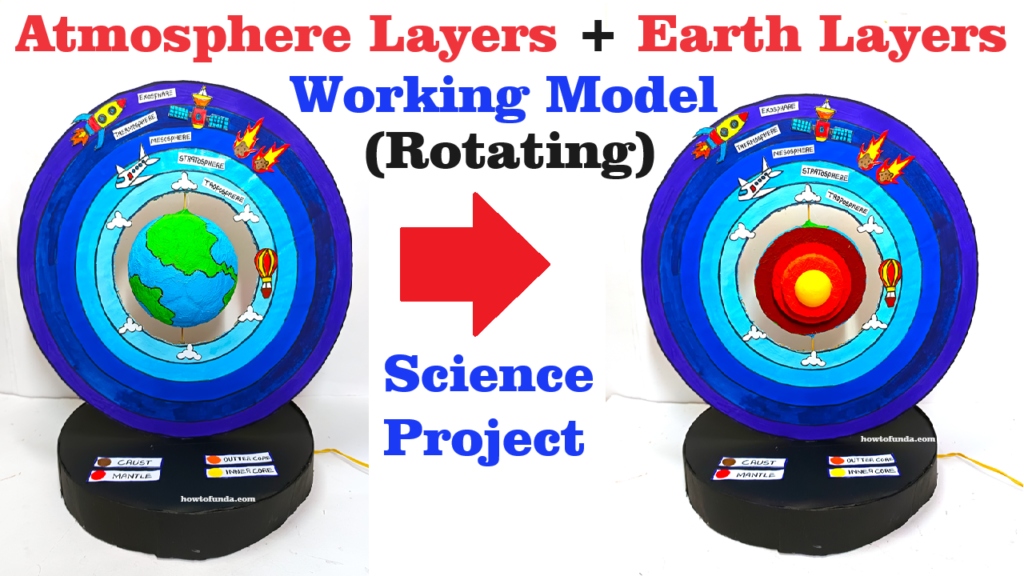
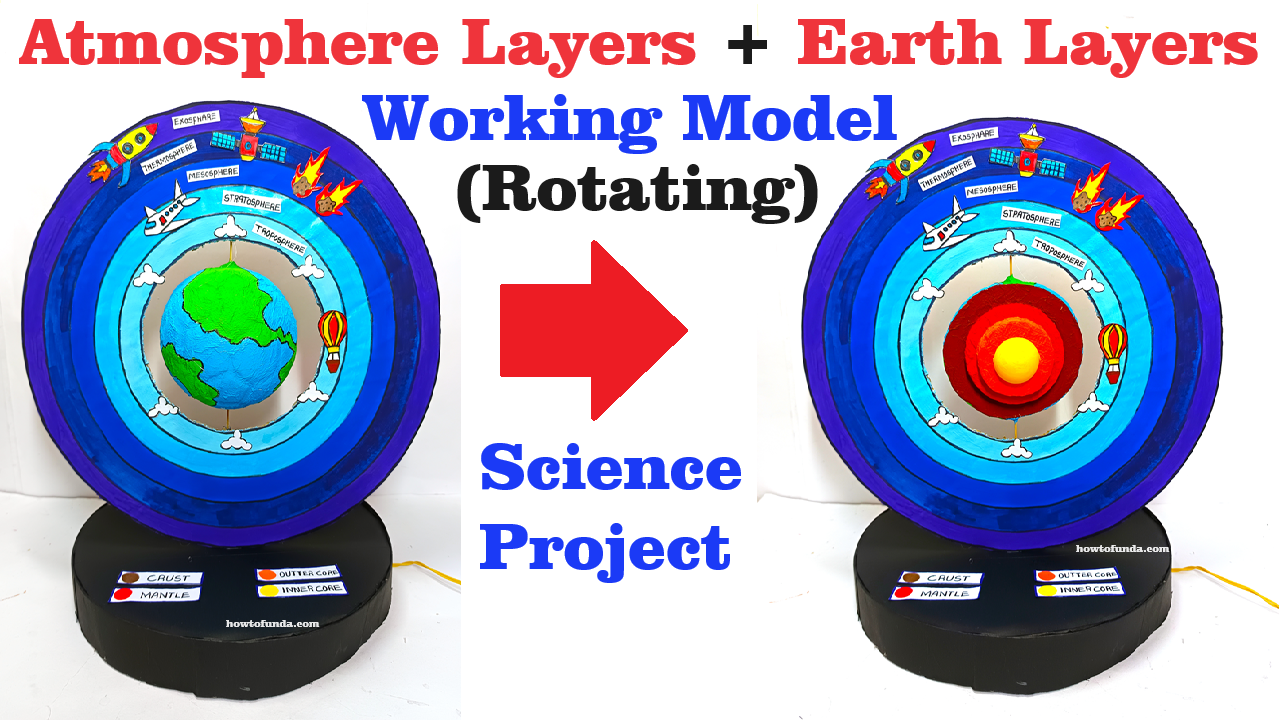
Creating a rotating model of the Earth with its atmospheric layers using a ball, cardboard, and a slow-running motor can be a fun and educational project.
Here’s a step-by-step guide to help you build it:

Materials Needed:
- Ball (representing Earth) – A spherical object like a foam ball or a small globe.
- Cardboard – For creating the atmospheric layers.
- Slow-running motor – To rotate the Earth model.
- Battery pack – To power the motor.
- Wires and switch – For connecting the motor to the battery pack.
- Hot glue gun or strong adhesive – To assemble the parts.
- Paints or markers – For labeling and decorating the layers.
- Stand – To hold the motor and ball (you can use a small wooden or plastic base).
- Compass or protractor – To draw circles for atmospheric layers.
- Scissors or craft knife – For cutting cardboard.
Step-by-Step Video Instructions on atmosphere and earth layers:
Step 1: Prepare the Earth Model
- Mount the Ball on the Motor:
- Attach the ball (Earth) securely to the motor shaft using a hot glue gun or strong adhesive. Make sure it’s centered and balanced to avoid wobbling when it rotates.
Step 2: Create the Atmosphere Layers
- Draw and Cut Circles:
- Using a compass or protractor, draw concentric circles on the cardboard to represent different layers of the atmosphere. The layers are (from closest to the Earth to farthest):
- Troposphere
- Stratosphere
- Mesosphere
- Thermosphere
- Exosphere
- Each circle should be larger than the ball to give a clear representation of each atmospheric layer.
- Cut out the circles carefully.
- Using a compass or protractor, draw concentric circles on the cardboard to represent different layers of the atmosphere. The layers are (from closest to the Earth to farthest):
- Label the Layers:
- Use paints or markers to label each cardboard circle with the name of the corresponding atmospheric layer.
- Optionally, color each layer differently for better visual distinction.
Step 3: Assemble the Model
- Mount the Motor and Ball on the Stand:
- Securely attach the motor to the stand so that it can rotate the ball freely. Ensure the setup is stable.
- Attach the Cardboard Layers:
- Using a method that allows for some space between each layer (like small spacers or pieces of cardboard), attach the cardboard circles above the ball. Start with the smallest circle (Troposphere) closest to the ball and move outward to the largest (Exosphere).
- Ensure the circles are aligned and centered over the ball.
Step 4: Wiring the Motor
- Connect the Motor to the Battery Pack:
- Connect the wires from the motor to the battery pack. Incorporate a switch in the circuit to easily turn the motor on and off.
- Secure all connections and insulate any exposed wires.
Step 5: Testing and Final Adjustments
- Test the Rotation:
- Turn on the motor and observe the rotation of the Earth model. Ensure the movement is smooth and stable.
- Make any necessary adjustments to the alignment of the atmospheric layers or the stability of the stand.

