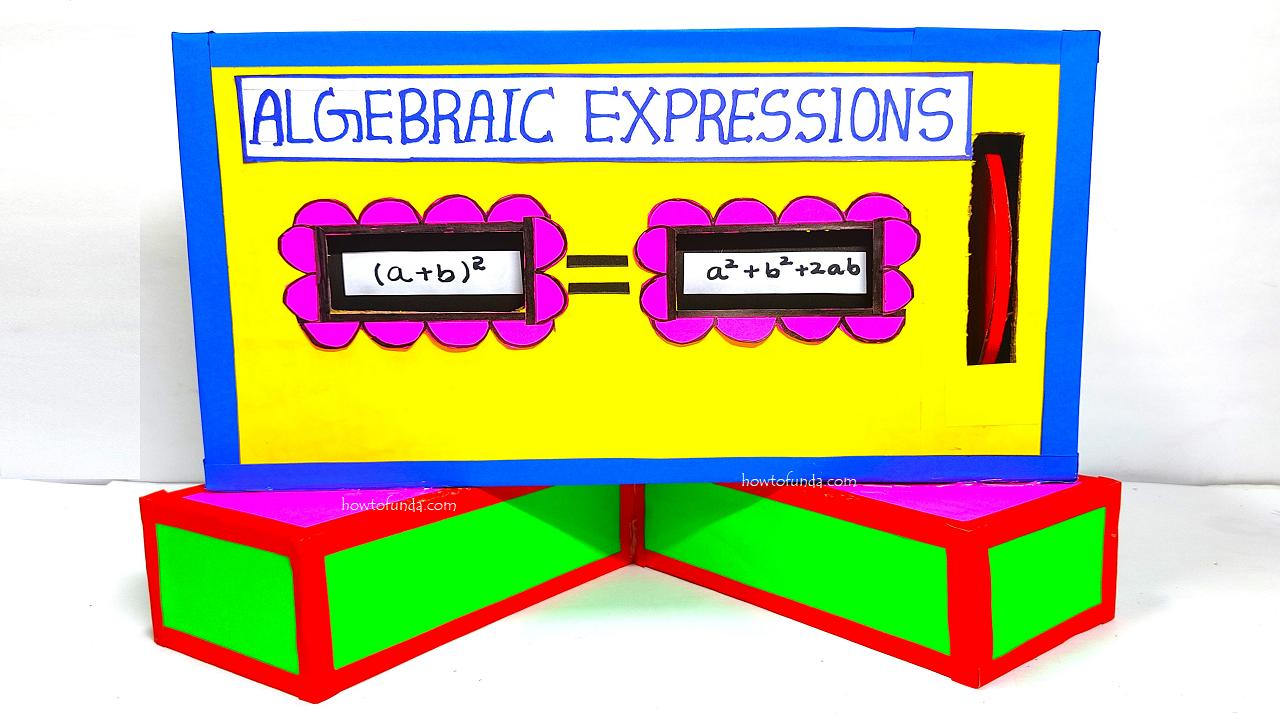
Algebraic expressions are mathematical phrases that include numbers, variables, and operations (such as addition, subtraction, multiplication, and division).
These expressions can represent relationships, quantities, or operations in a concise and symbolic manner.
Understanding algebraic expressions is fundamental in algebra and provides a powerful tool for solving problems and expressing mathematical relationships.
Working model for algebraic expressions making
Creating a working model for algebraic expressions with a cardboard box and rotating square holes is a creative way to represent mathematical concepts.

Here’s a step-by-step guide to help you build your model:
Materials Needed:
- Cardboard box
- Ruler
- Pencil
- Craft knife or scissors
- Colored markers or paper
- Brass fasteners (optional)
- Small wooden dowel or pencil (for rotation)
- Glue
- Paper or index cards
Video Steps by Steps Algebraic Expressions Working Model:
- Prepare the Cardboard Box:
- Start with an empty cardboard box. Cut off the flaps at the top and bottom so that you have an open box.
- Create Two Square Holes:
- On opposite sides of the box, draw two equal-sized squares. These squares will act as the rotating windows.
- Cut out the squares using a craft knife or scissors.
- Design Algebraic Expressions:
- Write algebraic expressions on colored paper or index cards. Use variables (x, y, etc.) and constants to create expressions.
- For example, you can create expressions like “2x + 3” or “4y – 1.”
- Attach Expressions to Rotating Mechanism:
- Cut out the squares or rectangles that contain the algebraic expressions.
- If you’re using index cards, you can attach them to the cardboard box near the rotating windows using glue or brass fasteners.
- Create the Rotating Mechanism:
- Cut a small wooden dowel or use a pencil as a rotating axis. This axis will be placed through the center of the squares on the box.
- Attach the wooden dowel or pencil to the box, going through the center of the squares. You can secure it with glue or use brass fasteners for added stability.

