
1. Introduction
Good morning, respected judges, teachers, and my dear friends.
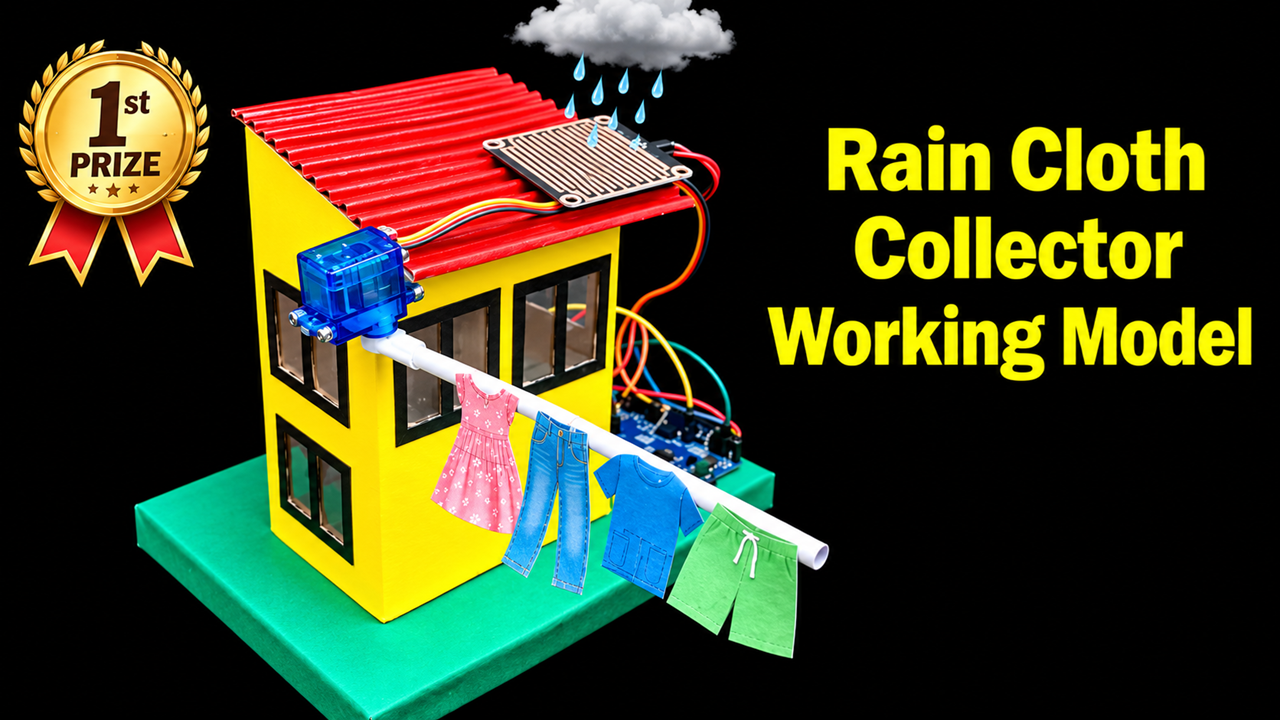
Today, I am presenting my science project, “Rain Cloth Collector Working Model.”
During the rainy season, clothes drying outside may become wet when rain starts suddenly. This can be inconvenient, especially when nobody is at home to collect them. My project demonstrates a smart system that detects rain and automatically moves the clothes to a protected area.
This model combines a rain sensor, a controller, and a servo motor to demonstrate how simple automation can help protect clothes from unexpected rainfall.
2. Aim of the Project
The main objectives are to detect rainfall automatically, demonstrate an automatic clothes-protection mechanism, introduce sensor-based automation, and show how technology can make everyday household activities easier.
3. Materials Required
- Cardboard sheets for the house and base.
- Coloured paper for decoration.
- Rain sensor plate and compatible control module.
- Arduino UNO or another suitable controller.
- Servo motor suitable for the mechanism.
- Jumper wires and connecting cables.
- Suitable battery or regulated power supply.
- Plastic pipe or lightweight rod for the clothesline.
- Miniature clothes made from paper or fabric.
- Glue, scissors, ruler, and labels.
4. Making Process
Step 1: Prepare the base
Take a thick cardboard sheet and cover it with green chart paper or foam sheet. This forms the base of the model and supports the house and electronic components.
Step 2: Build the house
Use cardboard to construct a small house. Cover the walls with yellow paper and make a red roof. Add windows, doors, and other details to make the model attractive.
Step 3: Make the clothesline
Attach a lightweight plastic rod or pipe to the house. Hang miniature clothes made from paper or fabric on the rod. Design the arrangement so that the clothesline or protective mechanism can move without obstruction.
Step 4: Install the rain sensor
Mount the rain sensor plate on the roof or another exposed location where it can detect water droplets. Connect the sensor plate to its compatible control module. Keep the controller and other electronics protected from direct water exposure.
Step 5: Attach the servo motor
Secure the servo motor to the house near the clothesline mechanism. Connect its rotating arm to the movable rod, sliding arrangement, or protective cover. Ensure the mechanism moves freely without excessive force.
Step 6: Connect the controller
Connect the rain sensor output to the controller’s input and the servo signal wire to a suitable control pin. Provide the correct power supply and common ground according to the components’ specifications.
Step 7: Program and test
Program the controller to detect the sensor’s rain signal. When rain is detected, the controller should command the servo to move the clothesline or protective mechanism to a sheltered position. Test the movement using a few drops of water on the sensor plate.
Finally, secure all wires, add labels, and check that the mechanism works smoothly.
5. Working Principle
The working principle is based on rain detection and automatic mechanical movement.
When the weather is dry, the system remains in its normal position, allowing the clothes to stay on the clothesline.
When raindrops fall on the sensor plate, the electrical properties of the sensor change. The control module detects this change and sends a signal to the Arduino or other controller.
The controller processes the signal and commands the servo motor to rotate. The servo moves the connected mechanism, representing the movement of the clothesline or clothes into a sheltered area.
When the sensor dries, the system can be programmed to return to its original position after a suitable delay. This helps prevent unnecessary movement caused by brief drops or splashes.
The exact movement depends on the mechanical arrangement built into the model.
6. Demonstration at the Exhibition
First, I will explain the house, clothesline, rain sensor, controller, and servo motor.
When the sensor is dry, the clothes remain in their normal position. Next, I will place a few drops of water on the rain sensor plate.
The sensor will detect moisture and send a signal to the controller. The controller will activate the servo motor, which will move the clothesline or protective mechanism to demonstrate how the clothes can be protected from rain.
I will then explain how the system can be programmed to return to its normal position after the sensor becomes dry.
7. Advantages and Applications
This project demonstrates how automation can reduce the need for manual intervention. It introduces students to sensors, microcontrollers, servo motors, and practical problem-solving.
Similar systems could be adapted for automatic window covers, rain-protection shelters, and smart home applications. A practical installation would need weatherproof electronics, a reliable mechanism, suitable power backup, and safeguards to prevent the moving parts from causing injury or damage.
8. Conclusion
To conclude, my Rain Cloth Collector Working Model demonstrates how a rain sensor and servo motor can work together to respond automatically to rainfall. It shows how a simple idea can be developed into a useful household automation concept.
Through this project, I learned about rain detection, electronic control, mechanical movement, and smart home technology.
My message is: “Detect the Rain, Protect the Clothes, and Make Everyday Life Smarter!”
Thank you, everyone!