
1. Introduction
Good morning, respected judges, teachers, and my dear friends.
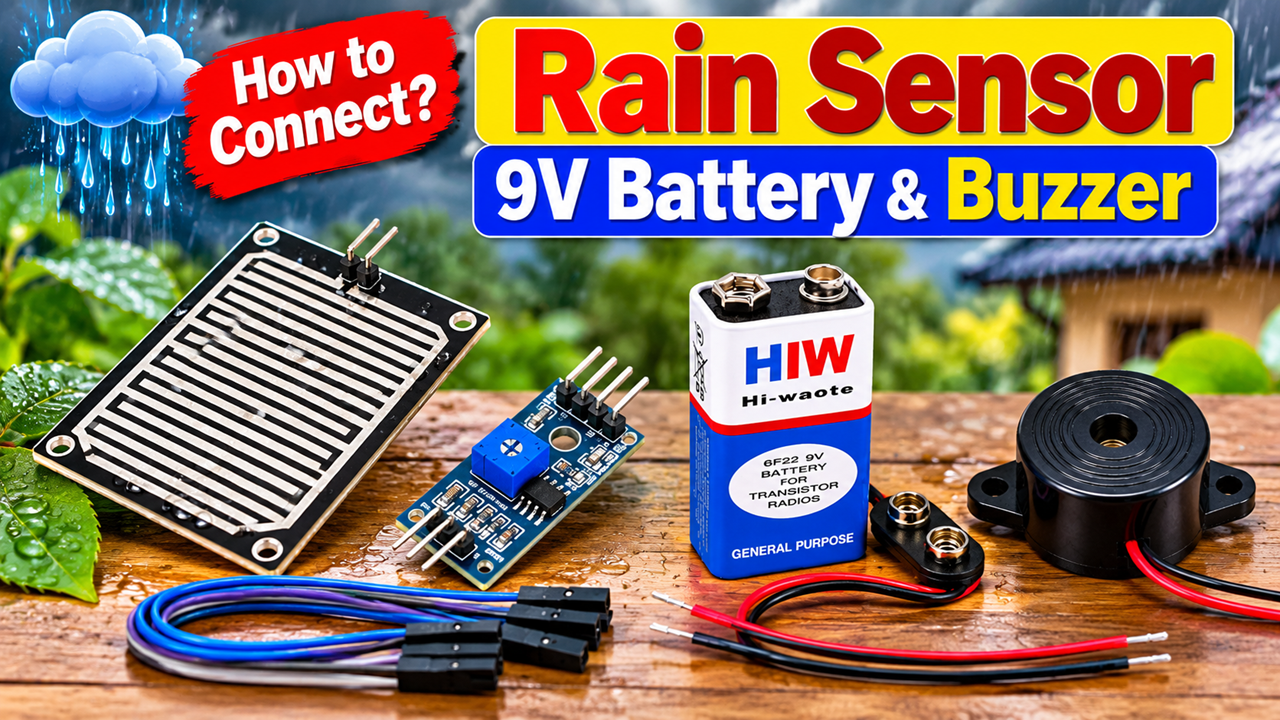
Today, I am going to present my science project, “Rain Sensor with 9V Battery and Buzzer.”
Rain is essential for agriculture, plants, and all living organisms. However, unexpected rainfall can cause problems when clothes are drying outside, windows are open, or electronic equipment is exposed to water. A rain detection alarm can help people recognise the beginning of rainfall and take suitable action.
My project demonstrates a simple electronic system that detects rainwater using a rain sensor module and activates a buzzer. It works using a 9V battery and does not require an Arduino or any programming.
2. Aim of the Project
The main objectives of this project are:
- To detect the presence of rainwater using a sensor.
- To activate a buzzer when rain is detected.
- To understand the working principle of a rain sensor module.
- To learn basic electronic connections using a battery and buzzer.
- To demonstrate a useful, low-cost rain alert system.
3. Materials Required
The following components are required:
- Rain sensor plate with conductive tracks.
- Rain sensor control module, usually with a sensitivity adjustment.
- 9V battery.
- 9V battery connector.
- Active buzzer suitable for the chosen supply voltage.
- Connecting wires or jumper wires.
- A small switch, if required.
- Cardboard or plastic base for mounting the components.
- Labels and decorative materials.
Important: The rain sensor control module and buzzer must be compatible with the chosen power supply. Many sensor modules are designed for approximately 3.3V–5V operation, so a 9V battery must not be connected directly to a low-voltage module unless a suitable regulated supply or voltage-reduction circuit is used.
4. Making Process
Step 1: Prepare the base
Take a small cardboard or plastic sheet and use it as the base for mounting the sensor module, battery, and buzzer. Keep the components separated and secure the wires to prevent accidental disconnection.
Step 2: Mount the rain sensor plate
Place the rain sensor plate at a slight angle so that water can reach its surface and drain away. The plate contains exposed conductive tracks that help detect moisture when rainwater bridges the tracks.
Keep the electronic control module protected from direct water exposure.
Step 3: Connect the sensor plate to the module
Connect the rain sensor plate to its matching control module using the supplied connector or wires. Follow the labels on the module and the manufacturer’s pinout instructions.
The control module processes the change in electrical resistance when water reaches the sensor plate.
Step 4: Prepare the power supply
Attach the 9V battery connector to the battery. Check the voltage requirements of the rain sensor module before connecting the battery.
If the module requires 5V, use a suitable regulated 5V supply or voltage regulator. Do not assume that every rain sensor module can safely operate directly from 9V.
Step 5: Connect the buzzer
Choose an active buzzer with a voltage rating compatible with the circuit. Connect it to the module’s digital output through a suitable driver circuit if required.
Some modules provide a digital output that changes state when rain is detected, while others may require a transistor or another switching circuit to operate the buzzer safely.
Step 6: Adjust the sensitivity
If the module has a sensitivity adjustment, use it to set the detection threshold. Test the sensor with a few drops of water and adjust the setting until the circuit responds reliably.
Step 7: Test and decorate
Turn on the system and place a few drops of water on the sensor plate. Confirm that the buzzer activates when the module detects moisture. Dry the plate and check whether the alarm resets as expected.
Finally, attach labels such as “Rain Sensor,” “Control Module,” “9V Battery,” and “Buzzer Alarm.”
5. Working Principle
The working principle of this project is based on changes in electrical resistance caused by water on the sensor plate.
The rain sensor plate contains a series of conductive tracks. When the plate is dry, the electrical resistance between the tracks is relatively high. When rainwater reaches the surface, the water creates conducting paths between the tracks, changing the electrical resistance.
The control module detects this change and produces an output signal. When the signal reaches the alarm circuit, the buzzer sounds to indicate that rain or moisture has been detected.
When the plate dries, the sensor reading changes again. Depending on the module and circuit design, the buzzer may stop automatically when the moisture level falls below the selected threshold.
This system detects moisture on the sensor plate; it does not measure rainfall accurately in millimetres or predict future weather conditions.
6. Demonstration at the Exhibition
During the exhibition, I will first show the rain sensor plate, control module, battery, and buzzer.
First, I will keep the sensor plate dry. The alarm should remain inactive if the module is configured for dry conditions.
Next, I will place a few drops of water on the sensor plate. The module will detect the change in resistance and activate the buzzer.
Then, I will dry the plate and observe whether the alarm stops. This demonstrates how the sensor responds to changing moisture conditions.
For safety, I will use only a small amount of water on the sensor plate and keep the battery, module, and exposed electrical connections dry.
7. Advantages and Applications
The main advantages of this project are:
- Simple and economical rain detection.
- No Arduino or programming is required when using a compatible sensor module and alarm circuit.
- Provides an audible warning when moisture is detected.
- Useful for demonstrating basic electronics and sensor technology.
- Can be adapted for rain alerts near open windows, clothes-drying areas, or outdoor equipment.
The system can also be expanded with a relay or controller to operate other devices, provided that the circuit is designed safely for the required load.
8. Safety Precautions
Use a voltage supply suitable for every electronic component. Keep the battery and control module protected from water. Do not immerse the electronics in water or connect the circuit to household mains electricity.
A 9V battery is suitable only when the circuit’s voltage requirements are met. If the module is rated for 5V, use a regulated supply rather than connecting 9V directly.
9. Conclusion
To conclude, my Rain Sensor with 9V Battery and Buzzer project demonstrates how a simple sensor can detect moisture and generate an audible warning. It introduces the basic concepts of electrical resistance, sensor modules, electronic switching, and alarm systems.
This project shows how a small electronic device can help people respond quickly when rain begins.
My message is: “Detect the Rain, Sound the Alarm, and Protect What Matters!”
Thank you, everyone!