In this video, we show you how to build an amazing Chandrayaan-3 working model for your science project exhibition! This DIY model helps explain India’s historic lunar mission by the Indian Space Research Organisation (ISRO) and demonstrates key scientific concepts using simple materials. It’s perfect for school science fairs, classroom presentations, and anyone interested in space exploration and rocket technology.

Chandrayaan-3 is India’s third lunar exploration mission designed to explore the Moon’s surface, especially the south pole region. The mission includes a propulsion module, a lander (Vikram), and a rover (Pragyan). Its objective is to safely land on the Moon, deploy the rover, conduct scientific experiments, and collect important data about lunar geography and elements.
Building a working model of Chandrayaan-3 is a wonderful way to visualize how rockets launch, travel through space, and land on the Moon. This project connects astronomy, physics, engineering, and design — making it educational and exciting! 🌟
Materials You’ll Need
Here are the main materials used in the working model:
- Cardboard, foam board, or thermocol sheets
- Paper cups or cylindrical tubes for rocket body
- LED lights to represent propulsion/fire
- DC motor or rotating mechanism (optional)
- Wires, battery, and switch
- Paints, markers, and color paper
- Glue, tape, and craft tools
- Printed flags, mission patches, and labels 🌐
This model can be simple or advanced depending on how detailed you want it. You can include moving parts, lighting effects, and even a rotating Moon surface!
How the Working Model Is Built
1. Rocket Structure (Launch Vehicle)
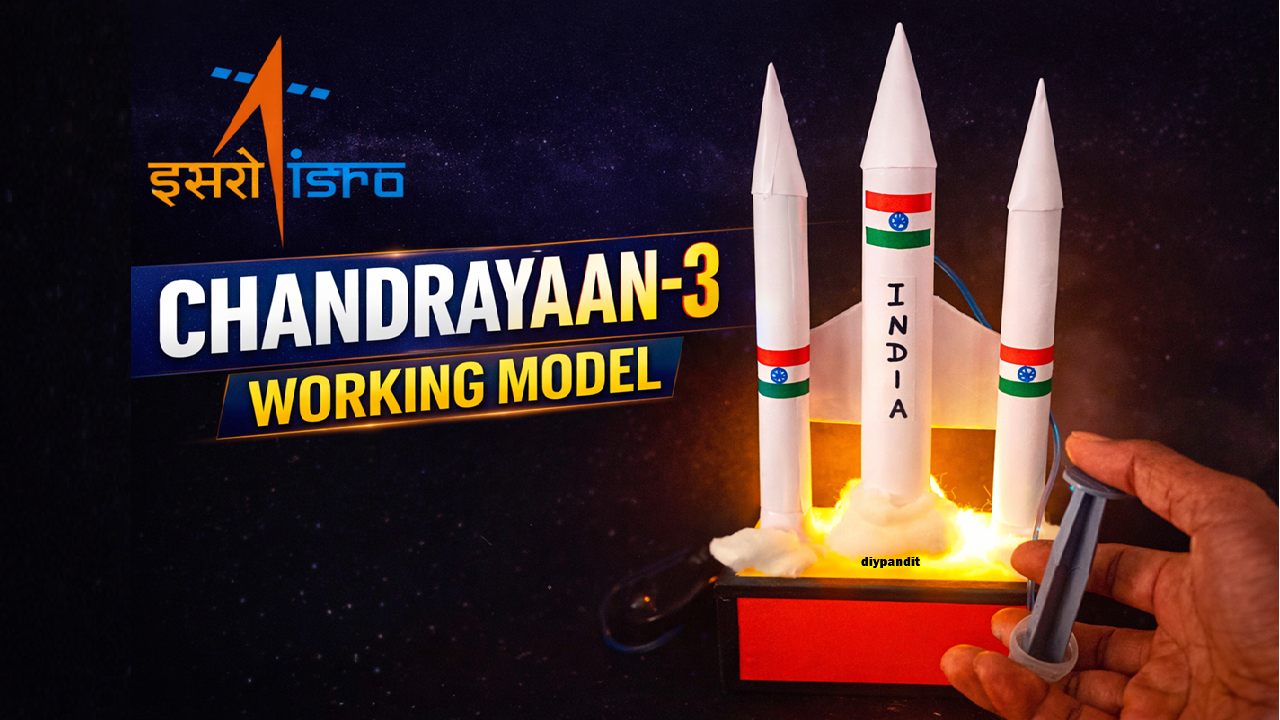
Begin with the rocket part of your model. Use cardboard tubes or stacked paper cups to build the body of the rocket. Paint it with white, black, or ISRO colors and attach mission insignia and the Indian flag. This section represents the launch vehicle that takes Chandrayaan-3 from Earth into space.
You can add four or more LED lights at the bottom to simulate rocket boosters and flame during launch. When switched on, the LEDs make it look like the rocket is firing up!
2. Lunar Module and Rover
Next, build the lander (Vikram) and the rover (Pragyan). These can be smaller boxes or shapes fixed onto the Moon’s surface or suspended near the model. Label them clearly and decorate with tiny paper flags or symbols.
You can also attach a small mirror or aluminum foil to reflect light and show sensor panels on the lander and rover.
3. Moon Surface and Orbit
Make a Moon base from a circular cardboard piece painted grey with craters. Place the lander on top of the Moon section and include rover wheels or tracks. You can even add cotton or textured paper to show the Moon’s surface.
If you want to show orbiting motion, install a small motor under the Moon base and mount the lander and rover on a rotating platform. This helps illustrate orbit and landing sequences.
Working Mechanism
When switched on, the rocket LEDs light up and represent the launch phase. You can place the rocket upright and tilt it slightly to show it lifting off.
The Moon section displays the lander and rover placed on the surface. Optionally, rotate the Moon section to show orbital motion.
Use arrows or small charts to explain:
- Launch → Earth’s gravity → Moon journey
- Soft landing
- Rover deployment and movement
- Scientific experiments conducted on the lunar surface