Concept / Principle:
The hydraulic crane works on Pascal’s Law, which states:
“Pressure applied to a confined fluid is transmitted equally in all directions.”
When you push fluid (water) from one syringe, it transfers pressure through a tube to another syringe, causing movement — just like in real cranes that use hydraulic systems to lift heavy loads.
Scientific Explanation:
- When you apply force on the plunger of the first syringe, the incompressible fluid (water) transfers that pressure to the connected syringe.
- This moves the piston in the second syringe, converting fluid pressure into mechanical motion.
- By using multiple syringes, you can make a crane lift, lower, and rotate objects.
Materials Required:
- 4 to 6 plastic syringes (10ml, 20ml sizes – without needles)
- Plastic or rubber tubing (to connect syringes)
- Water (colored water for visual effect)
- Cardboard, wood, or ice cream sticks (for crane frame)
- Fevicol / glue gun / tape
- Plastic cup or bottle cap (for bucket/claw)
- Scissors or cutter
- Small weights (like nuts or washers) for demo load
- Optional: Paint and color paper for decoration
Step-by-Step Model Making:
Step 1 – Build the Crane Base
- Use a thick cardboard or wooden plank as the base.
- Make a tower (vertical stand) using wooden sticks or cardboard strips.
- Fix a horizontal arm on top of the tower (like a crane boom).
- Use glue or hot glue gun for strong joints.
Step 2 – Connect Hydraulic System
- Take two syringes of equal size.
- Fill one with colored water, ensuring no air bubbles.
- Connect the outlets of both syringes using the rubber tube.
- Secure the joints tightly to prevent leakage.
- When you push the plunger of one syringe, the plunger of the other moves out.
Step 3 – Attach Hydraulic Cylinders
- Attach one syringe to the base (fixed) and the connected syringe to the crane arm using tape or zip ties.
- Repeat this with two or three pairs of syringes:
- One pair for up & down movement of the arm
- One pair for grip control (bucket open/close)
- One pair for base rotation (optional advanced setup)
Step 4 – Make the Crane Arm & Claw
- Cut two long cardboard strips for the crane arm.
- Attach a plastic cup / paper bucket / bottle cap as the lifting bucket.
- Fix it at the end of the arm using string or wire.
- Connect one syringe pair to move the arm up and down.
Step 5 – Test the Motion
- Fill all syringes with water (avoid air gaps).
- Push one plunger gently — you’ll see the connected arm move!
- Adjust connections until the crane can lift and drop a small object (like a coin or nut).
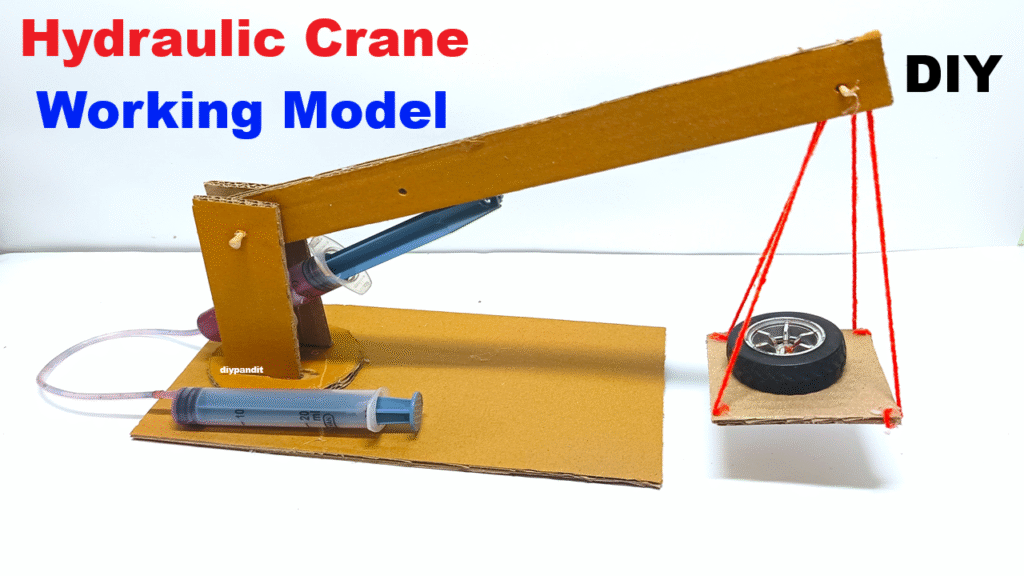
Step 6 – Decoration & Labeling
- Paint the crane yellow or orange (typical construction color).
- Label parts:
- Hydraulic Syringe System
- Crane Arm
- Piston Movement
- Base
- Lifting Hook
- Add a title board:
“Hydraulic Crane – Science Project (Pascal’s Law)”
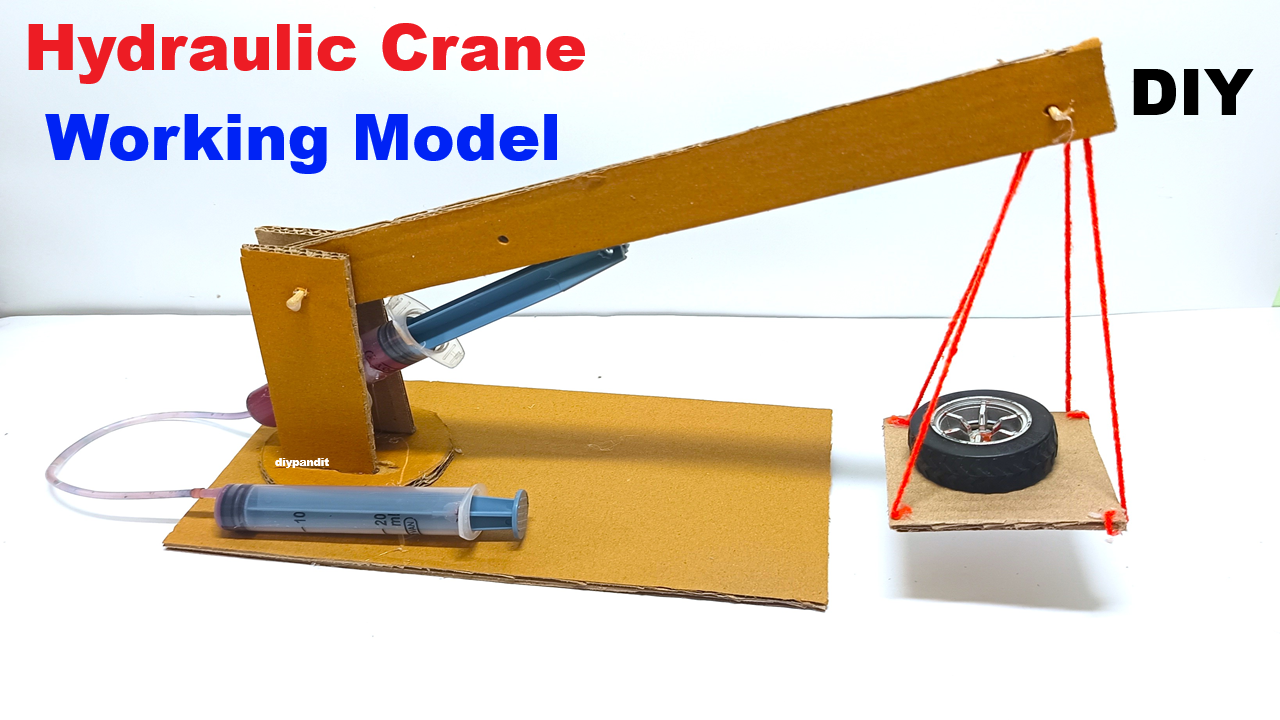
Explanation (For Presentation):
“This model of a hydraulic crane demonstrates Pascal’s Law — pressure applied to a confined fluid is transmitted equally in all directions.
When I push one syringe, the water pressure moves another syringe, which lifts the crane arm.
Real cranes use the same principle with hydraulic oil to lift heavy machinery and vehicles.”
Applications:
- Used in construction cranes, hydraulic lifts, excavators, and car brakes.
- Demonstrates force multiplication and mechanical advantage.