
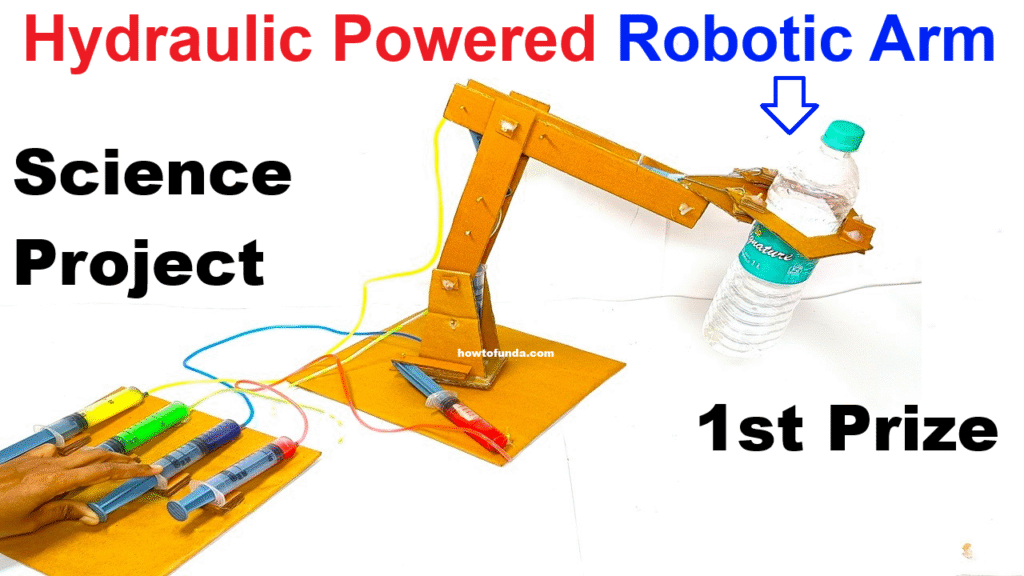
In this video, learn how to make a Hydraulic Powered Robotic Arm Working Model at home using syringes, cardboard, and pipes. This model demonstrates how hydraulics can be used to control the motion of robotic arms, just like those used in manufacturing industries and construction!
Step-by-Step Video Instructions:
1. Base Construction:
- Cut a large rectangle from cardboard for the base.
- Build a rotating or fixed base using stacked cardboard or a lazy susan mechanism.
2. Build the Arm Sections:
- Create 3 parts: base arm, mid-arm, and forearm using cardboard and ice cream sticks.
- Attach each with pivot joints using skewers or zip ties.
3. Fix the Syringes:
- Attach one end of each controlling syringe to the joints of the robotic arm.
- Attach the corresponding control syringe to the baseboard (one for each joint movement).
4. Connect the Tubes:
- Fill all syringes with water (optionally colored for visibility).
- Connect each pair of syringes with IV tubing tightly.
- Push and pull the syringes to see the arm move!
5. Test Movements:
- Each syringe pair controls a part of the arm:
- Base lift
- Elbow bend
- Claw or grip movement
- Side rotation (optional)
- Vertical up/down motion
How It Works:
The hydraulic robotic arm uses Pascal’s Law – when pressure is applied to a confined fluid, the pressure is transmitted equally in all directions. The movement of water in the syringe tubes helps operate different joints, simulating the function of real robotic arms used in industries.