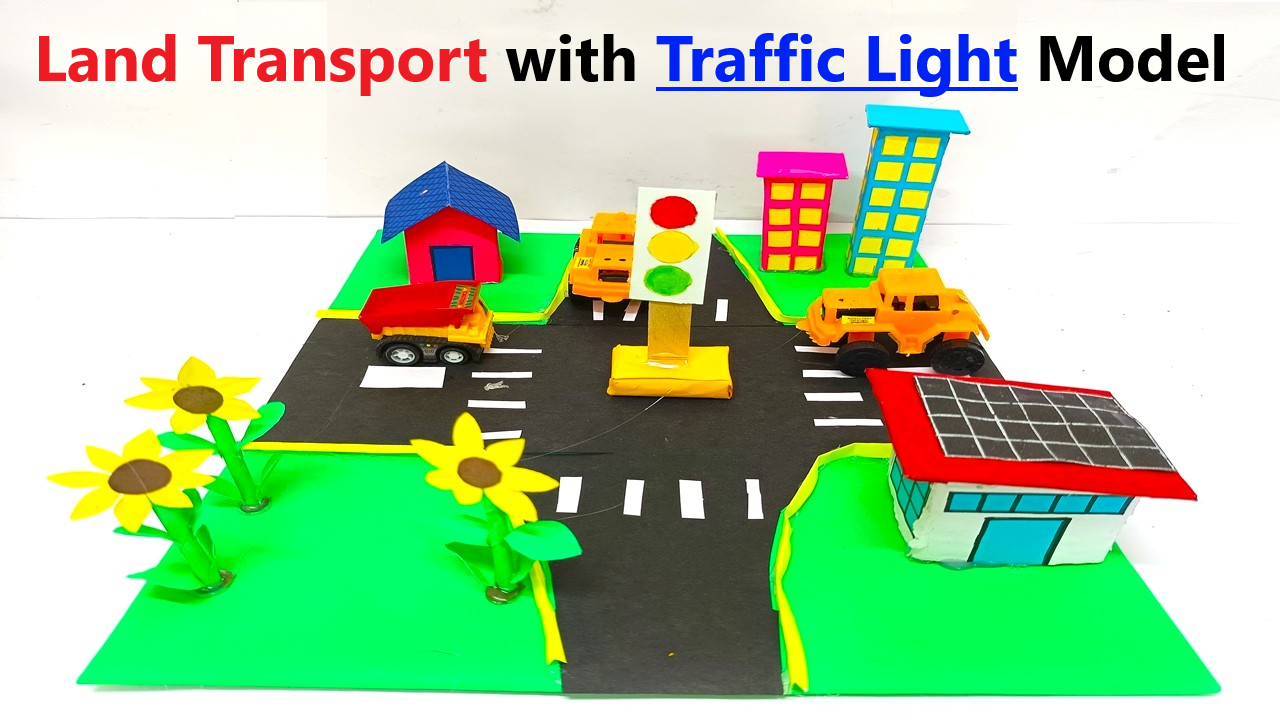
You can make a Land Transport with Traffic Light Model using color paper and cardboard to show different vehicles on the road along with a functioning or non-functioning traffic light system. This model is great for science exhibitions or school projects.
Materials Required
Cardboard (for base and background)
Color paper (for roads, vehicles, and traffic lights)
Paint or sketch pens (for road markings and details)
Glue and scissors
Small toy vehicles (optional)
Straws or sticks (for traffic light pole)
LED lights, battery, and switch (optional for working traffic light)
Steps to Make the Model
1. Create the Base (Roads and Paths)
- Take a large rectangular cardboard as the base.
- Cut black color paper into road shapes (straight, T-junction, or crossroads).
- Glue the roads onto the cardboard base.
- Use white paper strips or sketch pens to draw lane dividers and zebra crossings.
- Add small green paper cutouts on the sides for grass or trees.
2. Make the Traffic Light
- Cut a small rectangular cardboard piece for the traffic light box.
- Use black color paper to cover it.
- Cut three small circles (red, yellow, and green) and paste them vertically on the box.
- Attach the box to a straw or thin cardboard strip as the traffic light pole.
- Stick the traffic light near a crosswalk or road intersection.
3. Add Vehicles
- Draw and cut out car, bus, bike, and truck shapes from color paper.
- Fold them slightly and stick them upright on the road.
- Alternatively, use small toy cars for a 3D effect.
4. Decorate the Model
- Add trees, buildings, and people using color paper.
- Make pedestrian figures using small cutouts.
- Label the roads, vehicles, and signals using small paper tags.