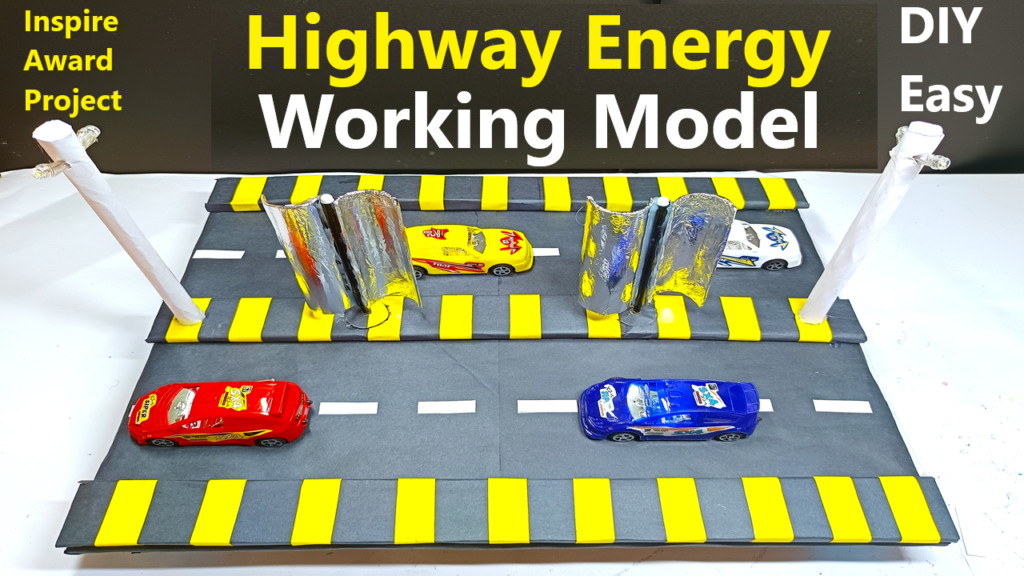
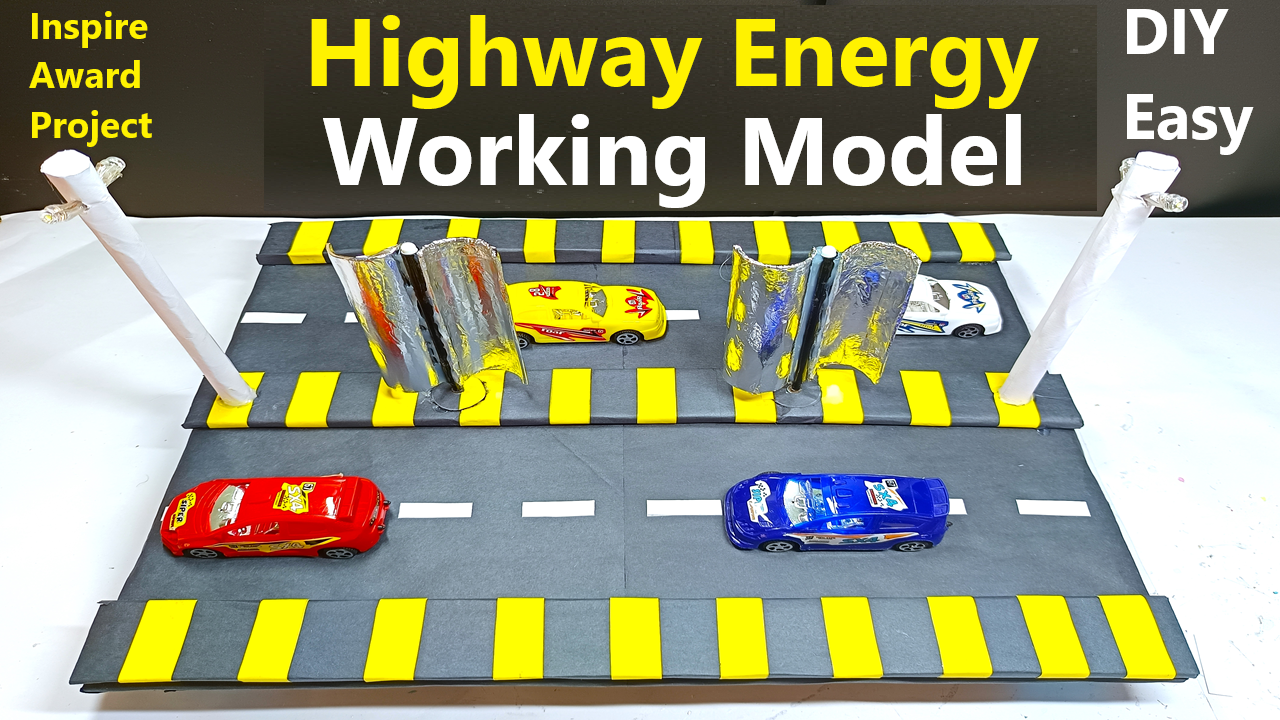
Creating a highway vertical turbine working model using cardboard and a DC motor as a generator is a fun and educational project. The idea is to use the wind generated by vehicles moving on a highway to turn a vertical-axis wind turbine (VAWT), which in turn drives the DC motor to generate electricity.

Here’s a step-by-step guide to building the model:
Materials Needed:
- Cardboard (for turbine blades and base)
- DC Motor (acting as a generator)
- Shaft (metal or wooden dowel)
- Bearings (for smooth rotation of the turbine)
- Connecting Wires
- LEDs or small bulb (to show electricity generation)
- Glue gun or strong adhesive
- Scissors/Cutter
- Paper clips or pins (for securing the blades to the shaft)
- Soldering iron (optional for connecting wires)
Video Steps to Build the Model:
1. Create the Vertical-Axis Wind Turbine (VAWT)
- Design the Blades: Cut out several rectangular pieces of cardboard to create turbine blades. You can make about 4-6 blades for the turbine. These blades will capture the wind generated by passing vehicles.
- Shape the Blades: Slightly curve the cardboard blades to create a shape that will catch the wind efficiently. Attach them evenly around a circular or cylindrical piece of cardboard to form the turbine’s main body.
- Attach the Blades to a Shaft: Insert a shaft (dowel or metal rod) through the center of the circular piece that holds the blades. This will serve as the axis for your turbine.
2. Build the Base
- Cut out a Stable Base: Create a sturdy base from cardboard that will hold the turbine in place. It should be wide enough to prevent the turbine from toppling over when it spins.
- Add Bearings: Attach small bearings at the top and bottom of the shaft for smoother rotation. This will allow the turbine to spin freely with minimal friction.
3. Connect the DC Motor
- Attach the DC Motor: Fix the DC motor (generator) to the bottom of the base or beneath the rotating turbine. Connect the motor’s shaft to the turbine’s shaft. As the turbine spins, it will rotate the motor shaft, generating electricity.
- Wiring: Solder wires to the DC motor terminals. These wires will carry the generated electricity to a load (such as an LED or a small light bulb).
4. Test the Model
- Position the Turbine: Place the model in a location where you can simulate wind or vehicle movement (e.g., next to a fan or by moving air). As the wind pushes the blades, the turbine will spin, turning the DC motor and generating electricity.
- Check for Power Output: Connect the wires from the DC motor to a small LED or bulb. If your turbine spins fast enough, you should see the LED light up, indicating that electricity is being generated.
Key Concepts:
- Wind Energy Conversion: The turbine converts the kinetic energy of the wind (generated by passing vehicles) into rotational energy.
- Electricity Generation: The DC motor converts the rotational energy of the turbine into electrical energy.
- Power Output: The faster the turbine spins, the more electricity is generated. You can measure this by connecting a voltmeter across the motor terminals.
This project is a simple demonstration of how renewable energy can be harnessed in practical settings like highways where natural wind or vehicle-induced wind can be utilized.

