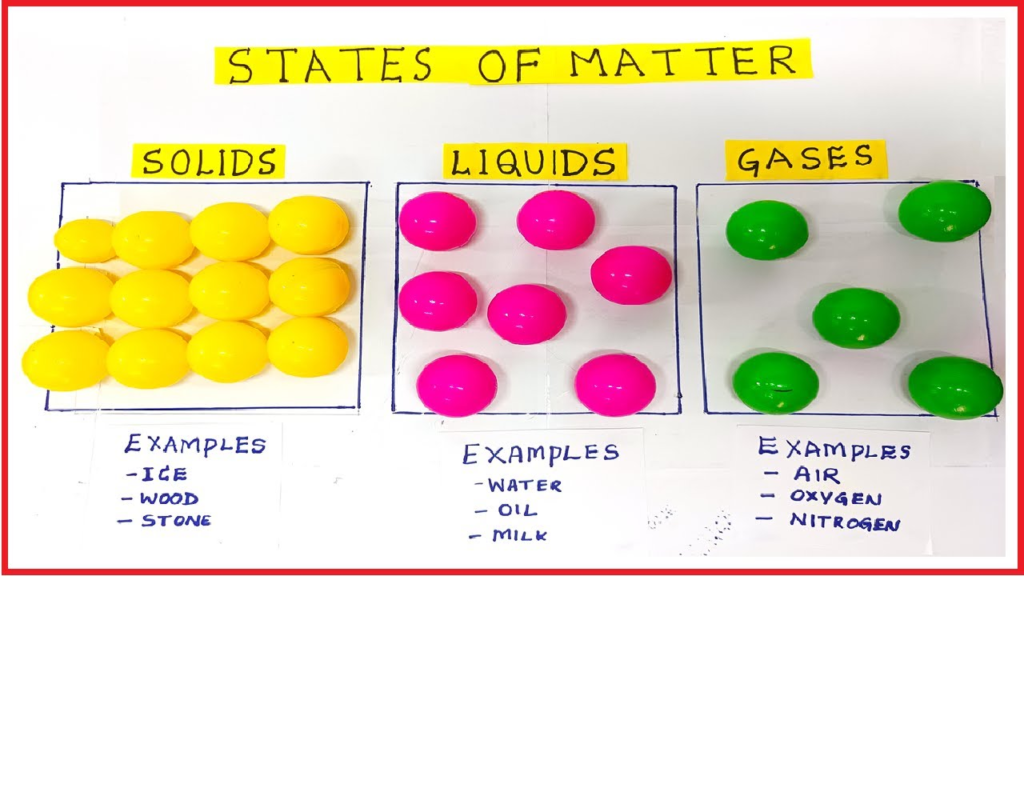
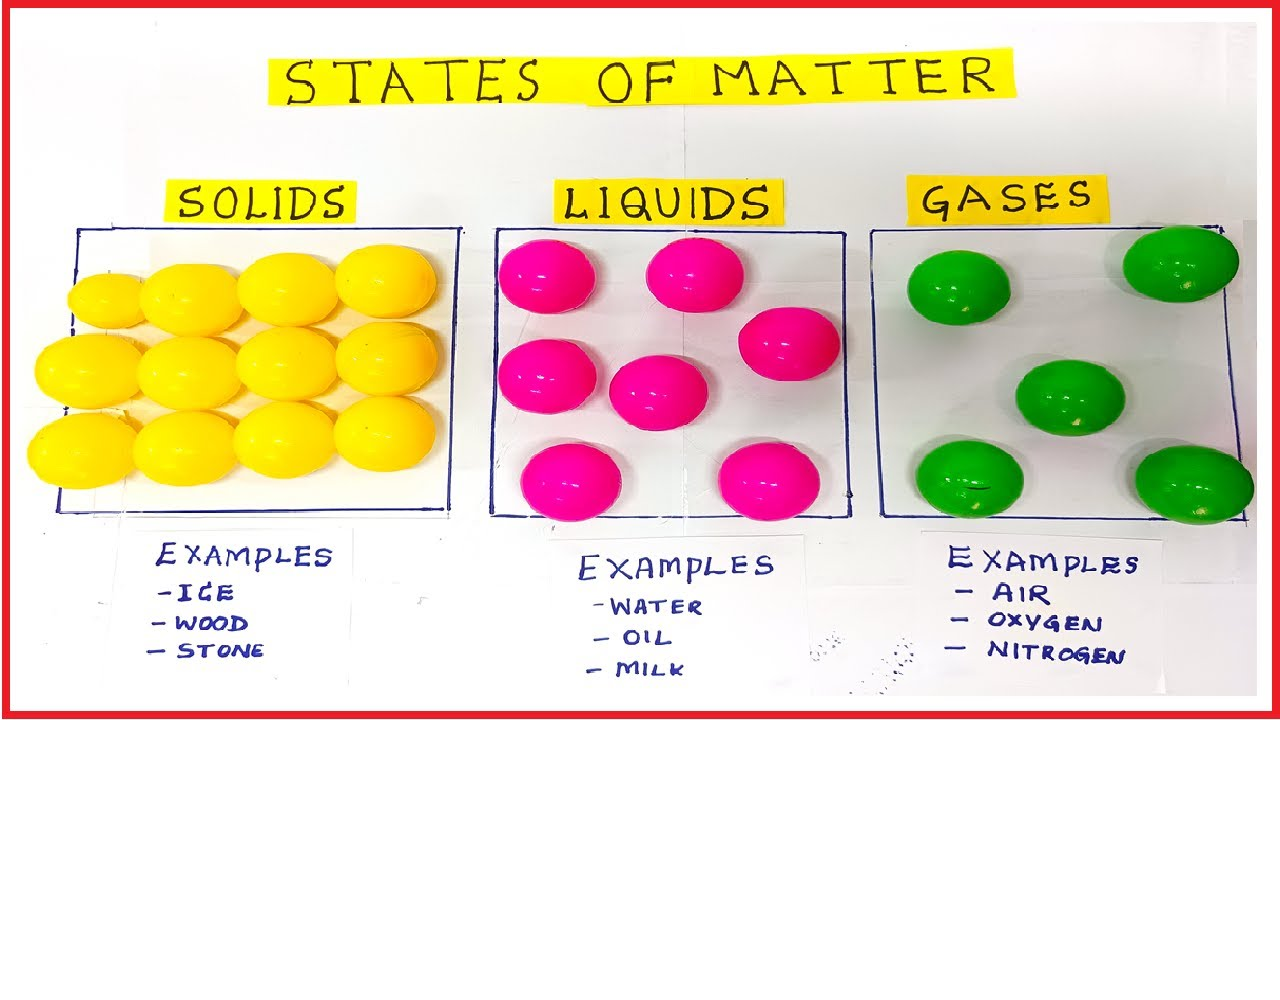
Creating a science project model to demonstrate the states of matter using balls and cardboard is a great way to visually explain the concepts of solids, liquids, and gases. Here’s how you can create this model:

Materials Required:
- Cardboard (for the base and dividers)
- Small balls (such as styrofoam balls, ping pong balls, or beads)
- Glue or tape
- Markers or pens
- Color paper (optional, for decoration)
- Scissors
- Ruler
- Labels or small pieces of paper for labeling
Step by Step Video Instructions:
Step 1: Prepare the Base
- Cut the Base: Cut a large rectangular piece of cardboard. This will be the base for your model.
- Create Dividers: Cut two smaller rectangular pieces of cardboard to act as dividers, separating the base into three sections. These sections will represent solids, liquids, and gases.
Step 2: Assemble the Base
- Attach the Dividers: Glue or tape the two dividers vertically on the base, dividing it into three equal sections.
- Label the Sections: Label each section at the top with “Solid,” “Liquid,” and “Gas.”
Step 3: Create the Solid Model
- Arrange the Balls: In the “Solid” section, glue the balls close together in a regular, fixed pattern (e.g., a grid). This demonstrates that particles in a solid are tightly packed and have a fixed shape.
Step 4: Create the Liquid Model
- Arrange the Balls: In the “Liquid” section, glue the balls close together but in a random arrangement. This shows that particles in a liquid are close but can move around each other, allowing the liquid to flow.
Step 5: Create the Gas Model
- Arrange the Balls: In the “Gas” section, glue the balls far apart and in a random arrangement. This demonstrates that particles in a gas are widely spaced and move freely, filling the available space.
Step 6: Add Descriptions
- Prepare Labels: Write brief descriptions of the properties of solids, liquids, and gases on small pieces of paper.
- Attach the Descriptions: Glue or tape these descriptions to the corresponding sections to explain the behavior of particles in each state of matter.
Step 7: Decorate the Model
- Decorate the Base: Use color paper and markers to decorate the base and make the model visually appealing. You can add drawings or designs to enhance the presentation.
Explanation
- Solids: The balls are tightly packed in a regular pattern, representing particles in a solid which are closely packed in a fixed position, giving the solid a definite shape and volume.
- Liquids: The balls are close together but randomly arranged, showing that particles in a liquid are close but not in a fixed position, allowing the liquid to flow and take the shape of its container while maintaining a definite volume.
- Gases: The balls are far apart and randomly arranged, representing particles in a gas that are widely spaced and move freely, filling the container they are in and having neither a definite shape nor volume.
This model effectively demonstrates the differences in particle arrangement and behavior in solids, liquids, and gases, providing a clear visual aid for understanding the states of matter.

