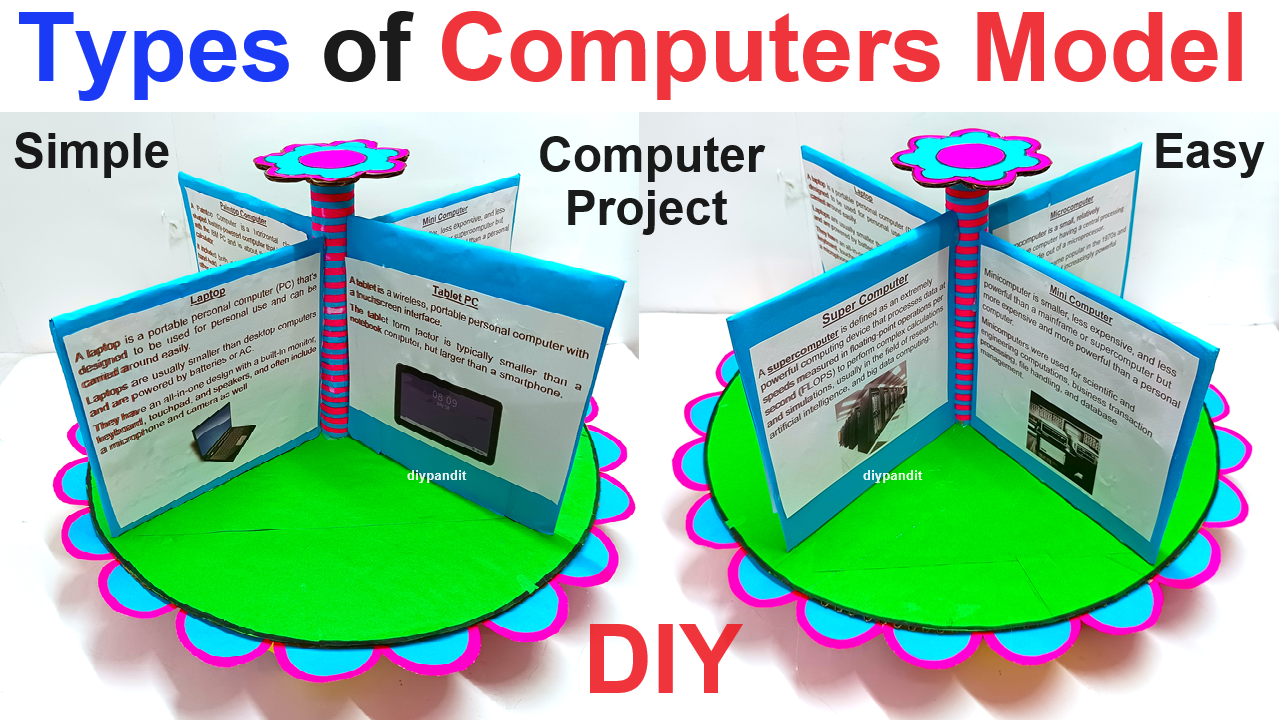
Creating a model to demonstrate the different types of computers with 8 partitions using cardboard and colored paper can be both educational and visually appealing.
Here’s a step-by-step guide:
Materials Needed:
- Large piece of cardboard (about 60 cm x 60 cm)
- Colored paper
- Scissors
- Glue
- Ruler
- Marker
- Printed or drawn images of different types of computers
- Labels for each type of computer
Types of Computers to Include:
- Supercomputer
- Mainframe Computer
- Minicomputer
- Microcomputer (Personal Computer)
- Laptop
- Tablet
- Smartphone
- Embedded Computer
Steps by Steps video instructions:

1. Prepare the Base:
- Cut the Cardboard Base: Cut a large square piece of cardboard (60 cm x 60 cm) to serve as the base of your model.
- Cover with Colored Paper: Cover the cardboard base with colored paper using glue to make it visually appealing.
2. Divide the Board:
- Divide into 8 Sections: Using a ruler and marker, divide the board into 8 equal sections. Draw lines from the center to the edges, creating pie-like slices.
3. Create the Partitions:
- Cut and Attach Partitions: Cut strips of cardboard (about 5 cm wide and the length of each segment) to act as partitions. Glue these partitions along the lines to create 8 separate sections.
4. Prepare the Information for Each Type of Computer:
- Supercomputer:
- Example: Summit (Oak Ridge National Laboratory)
- Description: Used for complex scientific calculations and simulations.
- Image: Print or draw an image of a supercomputer.
- Mainframe Computer:
- Example: IBM z15
- Description: Used by large organizations for bulk data processing and critical applications.
- Image: Print or draw an image of a mainframe computer.
- Minicomputer:
- Example: PDP-8
- Description: Mid-sized computers used in manufacturing processes and research.
- Image: Print or draw an image of a minicomputer.
- Microcomputer (Personal Computer):
- Example: Desktop PC
- Description: Commonly used for personal and business purposes.
- Image: Print or draw an image of a desktop computer.
- Laptop:
- Example: MacBook Pro
- Description: Portable personal computer.
- Image: Print or draw an image of a laptop.
- Tablet:
- Example: iPad
- Description: Portable touch-screen computer.
- Image: Print or draw an image of a tablet.
- Smartphone:
- Example: iPhone
- Description: Handheld device that combines a computer, phone, and camera.
- Image: Print or draw an image of a smartphone.
- Embedded Computer:
- Example: Raspberry Pi
- Description: Small computer embedded in other devices.
- Image: Print or draw an image of an embedded computer.
5. Attach the Information to the Board:
- Label Each Section: Glue a label with the name of the computer type at the top of each section.
- Add Descriptions and Images: Glue the descriptions and images for each type of computer in their respective sections.
6. Final Touches:
- Decorate: Add borders, colors, or patterns to each section to make the model more visually appealing.
- Instructions: Include a brief explanation of what the model represents and how to read it.
- Stability: Ensure all parts are securely attached and the model is stable.
Visual Layout:
- Imagine the cardboard base divided into 8 equal pie-like slices.
- Each slice represents a different type of computer.
- The partitions separate each section, and within each section, you’ll find the name, description, example, and image of the computer type.
This project will help illustrate the various types of computers, their uses, and examples, making it a great educational tool for an exhibition or classroom setting.