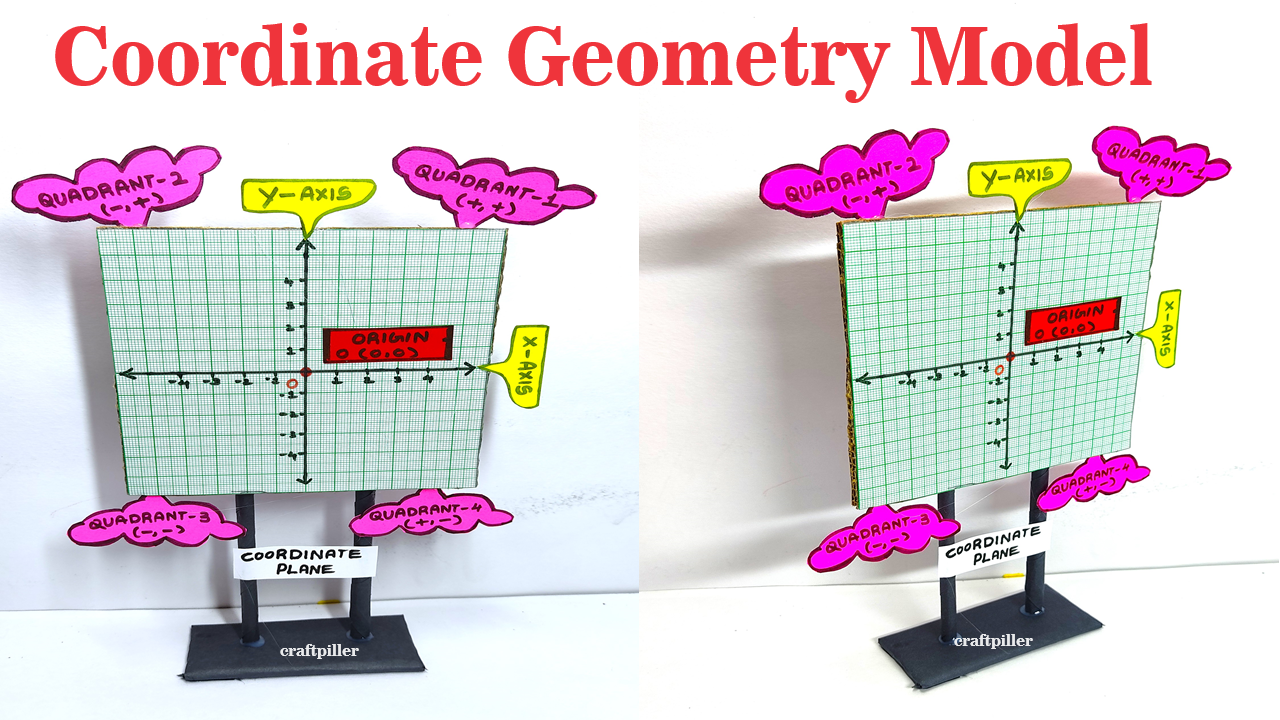
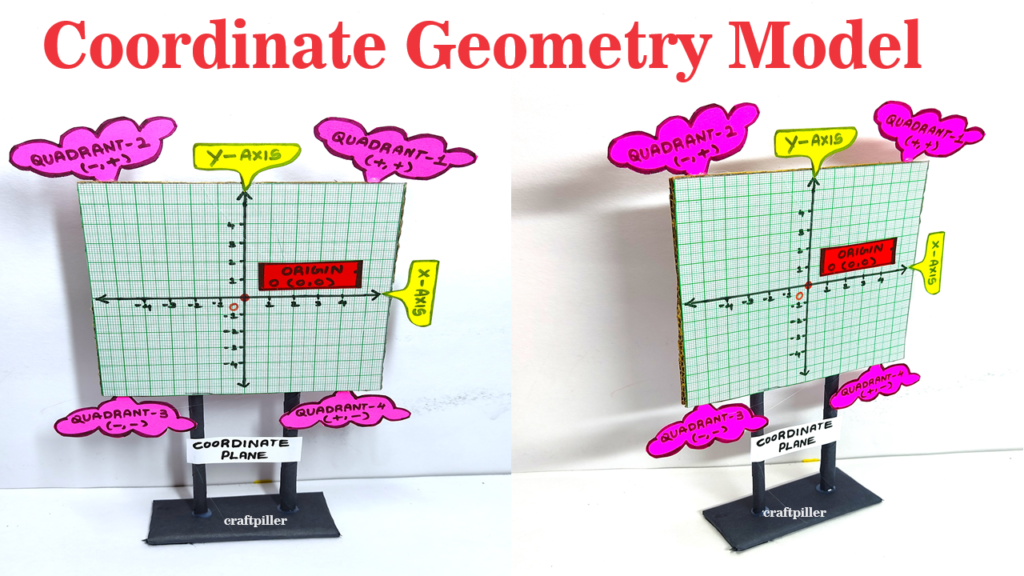
To help students grasp the basics of the coordinate plane, including the x-axis, y-axis, origin, and the four quadrants.
A coordinate geometry model is a powerful educational tool that visually represents these concepts, providing a hands-on approach to learning and exploration. It can include physical models, digital simulations, or interactive activities designed to illustrate the principles of coordinate geometry.
Creating a coordinate geometry model for a maths graph project can be both educational and fun.
Here’s a step-by-step guide to making a working model using cardboard and color paper:
Materials Needed:
- Cardboard or foam board
- Colored paper (different colors)
- Ruler
- Pencil
- Scissors
- Glue or tape
- Markers
- Pushpins or small nails
- String or yarn
Steps by Steps Video Instructions :
1. Prepare the Base:
- Take a piece of cardboard or foam board as the base for your model.
- Cut it into a large square or rectangle to serve as the coordinate plane.
2. Draw Axes:
- Use a ruler and pencil to draw the x-axis (horizontal) and y-axis (vertical) on the base.
- Ensure they intersect at the origin (0,0) at the center of the plane.
- Label the axes accordingly.
3. Create Grid Lines:
- Draw evenly spaced grid lines parallel to the axes to form a grid.
- These lines will help in plotting points and drawing shapes accurately.
4. Make Coordinate Points:
- Cut out small circles or squares from colored paper to represent coordinate points.
- Write coordinates on each shape (e.g., (2,3), (-4,1), etc.).
- Use different colors for positive and negative coordinates to distinguish them easily.
5. Attach Coordinate Points:
- Use glue or tape to attach the coordinate points onto the grid at their respective locations.
- Ensure the points are positioned accurately according to their coordinates.
6. Draw Shapes:
- Use colored paper to create various geometric shapes such as squares, rectangles, triangles, etc.
- Cut out these shapes and label them with their names (e.g., square, rectangle, etc.).
7. Plot Shapes:
- Place the geometric shapes on the coordinate plane, aligning them with their vertices on the grid lines.
- Use pushpins or small nails to secure the shapes onto the base.
8. Connect Points:
- Use string or yarn to connect points on the coordinate plane and form lines or line segments.
- For example, connect two points (1,2) and (3,4) to form a line segment.
- Tie the string to the pushpins or nails at each point.
9. Label Axes and Points:
- Use markers to label the x-axis, y-axis, and the origin (0,0).
- Label specific points or shapes if needed for identification.
10. Explain and Demonstrate:
- Once completed, display your coordinate geometry model in the classroom or on a wall where students can easily see it.
- Use the model to explain the concept of coordinate geometry, plotting points, drawing shapes, and finding distances.
- Encourage students to interact with the model by identifying points, plotting points, and drawing shapes themselves.
With this working model, students can visually understand the concepts of coordinate geometry and graph plotting, which will help them in their studies and understanding of mathematics.