
Creating a 3D working model of a rain gauge using a plastic bottle, cardboard, and paper is an engaging and educational project.
Here’s a step-by-step guide to help you build this model:
Materials Needed:
- Plastic bottle (e.g., a 2-liter soda bottle)
- Cardboard
- Paper
- Ruler
- Scissors or craft knife
- Tape or glue
- Marker or pen
- Small stones or pebbles (for stability)
Step by Step Video Instructions:
1. Prepare the Plastic Bottle:
- Clean and dry the plastic bottle thoroughly.
- Cut the top third of the bottle off using scissors or a craft knife. This top portion will be used as a funnel to capture rainwater.
2. Create the Rain Gauge Body:
- Turn the bottom part of the bottle upside down. This will be the main body of your rain gauge where the rainwater will be collected.
- Place the cut-off top portion (inverted) inside the bottom portion, so it acts as a funnel to direct rainwater into the gauge.
3. Add Stability:
- Place a few small stones or pebbles in the bottom of the bottle to add weight and stability. This will prevent the rain gauge from tipping over in the wind.
4. Create the Measurement Scale:
- Cut a strip of cardboard to fit the height of the bottle.
- Using a ruler, mark measurements on the cardboard strip in centimeters (or inches). Start from the bottom and mark each centimeter (or half-inch) clearly.
- Attach the measurement scale to the side of the bottle using tape or glue. Make sure the bottom of the scale aligns with the bottom of the bottle to ensure accurate measurements.
5. Label the Rain Gauge:
- Use paper to create a label for your rain gauge. Write “Rain Gauge” or any other label you prefer.
- Attach the label to the bottle using tape or glue.
6. Decorate (Optional):
- You can decorate the bottle and cardboard to make your rain gauge more visually appealing. Use markers, paint, or colored paper to add designs or labels.
Rain guage working model explanation:
A rain gauge is an instrument used to measure the amount of rainfall over a specific period.
Here’s how our model works:
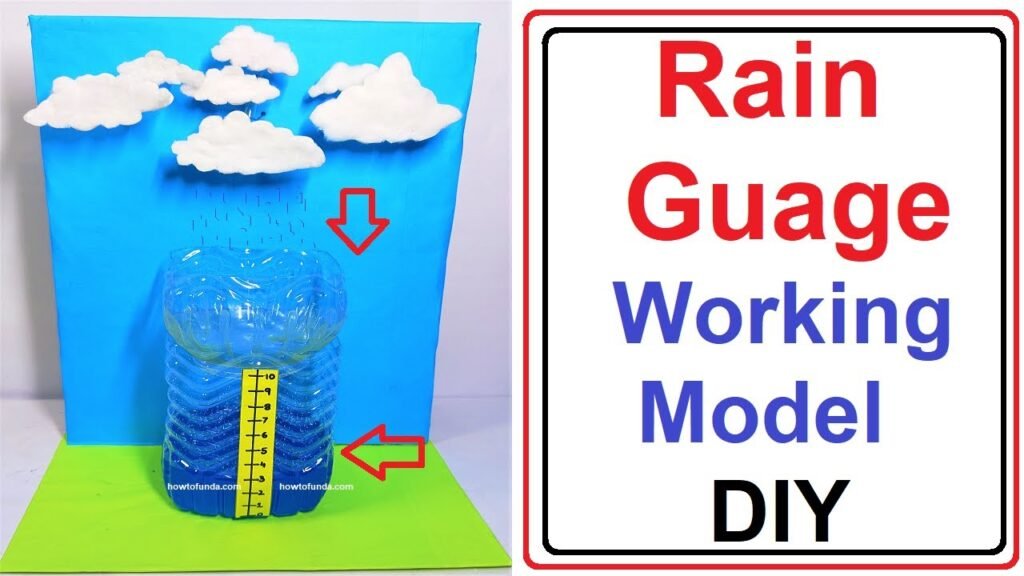
- Funnel: The top part of the plastic bottle, cut and inverted, acts as a funnel to capture rainwater efficiently and direct it into the main body of the gauge.
- Main Body: The bottom part of the bottle collects the rainwater. The stones or pebbles at the bottom add stability to prevent the gauge from tipping over.
- Measurement Scale: The cardboard strip with centimeter markings attached to the side of the bottle allows us to measure the amount of rainfall accurately. As rainwater collects in the bottle, the water level can be read against the scale.
- Label: The paper label identifies the instrument as a rain gauge.
When it rains, water is funneled into the main body of the gauge. The water level rises and can be measured using the scale on the side of the bottle. This measurement tells us how much rain has fallen over a given period.